
A Clear Overview of the Process From Start to Finish
If you are planning a metal roofing installation, you can expect a step-by-step process that starts with preparation and ends with a full cleanup and final inspection. The job usually takes a few days, depending on roof size and weather. There will be noise, materials on site, and workers moving around your property. Knowing what happens each day helps you feel prepared and confident about the project.
Quick Answer: How the Installation Works
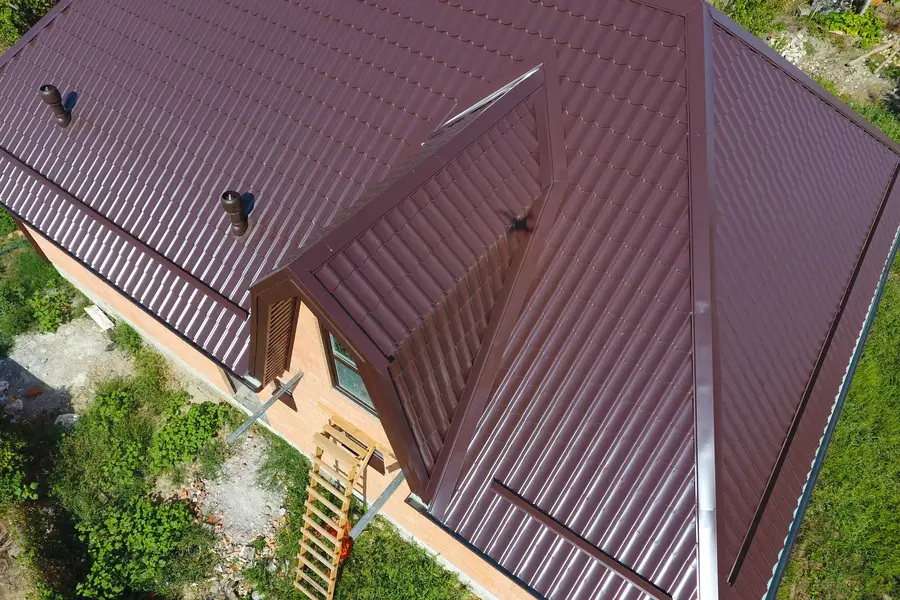
Metal roofing installation begins with removing old roofing if needed. Next, the roof deck is checked for damage. After that, underlayment is placed to protect against moisture. Metal panels or shingles are then installed, followed by flashing and trim. The crew finishes with cleanup and a final walkthrough.
This process may look simple, but each step needs careful work to avoid leaks or future problems.
What You Need Before the Project Starts
Before work begins, there are a few things to handle. Good planning keeps the project on schedule and protects your property.
- Clear cars from the driveway.
- Move patio furniture and grills away from the house.
- Remove wall decor inside, since vibrations can shake nails loose.
- Trim tree branches hanging over the roof.
- Talk with your contractor about timelines and materials.
If your home is part of a homeowners association, check if approval is needed. Some neighborhoods have rules about color and style.
Step-by-Step Process
- Delivery of materials: Panels, trim, and supplies arrive and are placed in a safe area.
- Old roof removal: Shingles or other roofing materials are removed if required.
- Deck inspection: The wood base is checked for rot or soft spots.
- Underlayment installation: A water-resistant barrier is rolled out and secured.
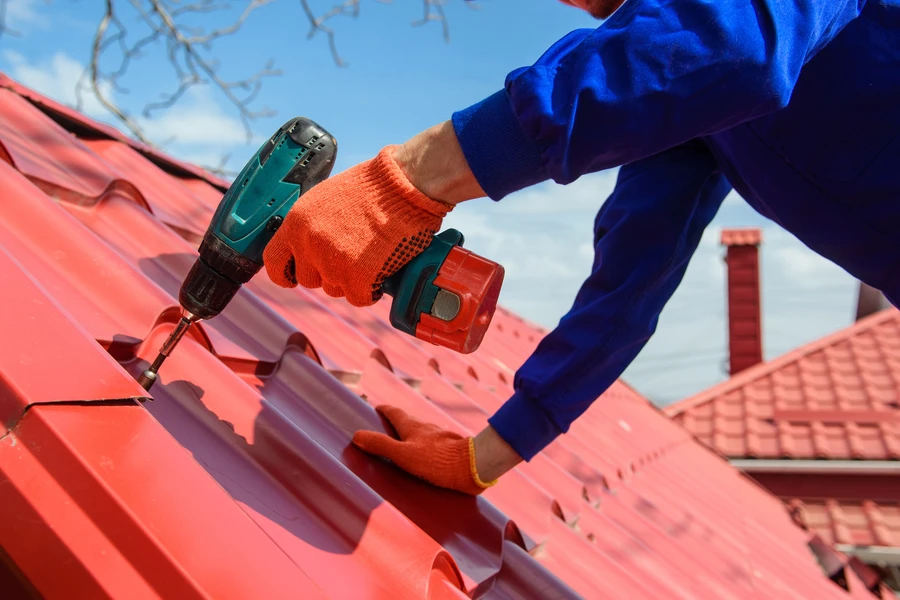
- Metal panel placement: Panels are lined up carefully and fastened with screws.
- Flashing and sealing: Edges, valleys, and vents are sealed to block water.
- Final inspection and cleanup: Debris is removed and screws are checked.
Each step builds on the one before it. Skipping details can lead to leaks or loose panels later.
Common Mistakes to Avoid
Even strong metal roofs can fail if installed the wrong way. Many problems come from rushed or uneven work.
- Improper screw placement that causes leaks.
- Poor alignment of panels leading to gaps.
- Not sealing around chimneys or skylights.
- Reusing damaged flashing.
- Ignoring ventilation needs.
Another mistake is choosing the wrong type of panel for your home. Different styles work better for different slopes and climates. This is where experience in roofing and can make a big difference.
How Long the Project Takes
Most metal roofing projects take two to five days. A small home may be finished faster. Larger or more complex roofs take longer. Weather can also slow things down. Rain or strong wind may pause work for safety reasons.
Ask your contractor for a clear timeline before work begins. That way you know what to expect each day.
When to Call a Professional
Installing a metal roof is not an easy DIY project. The panels are heavy and sharp. Walking on a roof is risky without safety gear. Proper fastening patterns also matter for warranty coverage.
You should call a professional if:
- Your roof has a steep slope.
- There is existing water damage.
- You want a warranty.
- You are unsure about local building codes.
A trained team has the tools and training to handle these issues safely.
Final Thoughts and Next Steps
At D&V Roofing LLC, we handle metal roofing installation projects across Los Lunas, NM with care and attention to detail. We guide homeowners through each step so there are no surprises. If you are thinking about upgrading your roof, call us at (505) 535-3468 to schedule an inspection and talk about your options. We are here to help you make a smart, lasting choice for your home.